exposed-aggregate-concrete-floor 
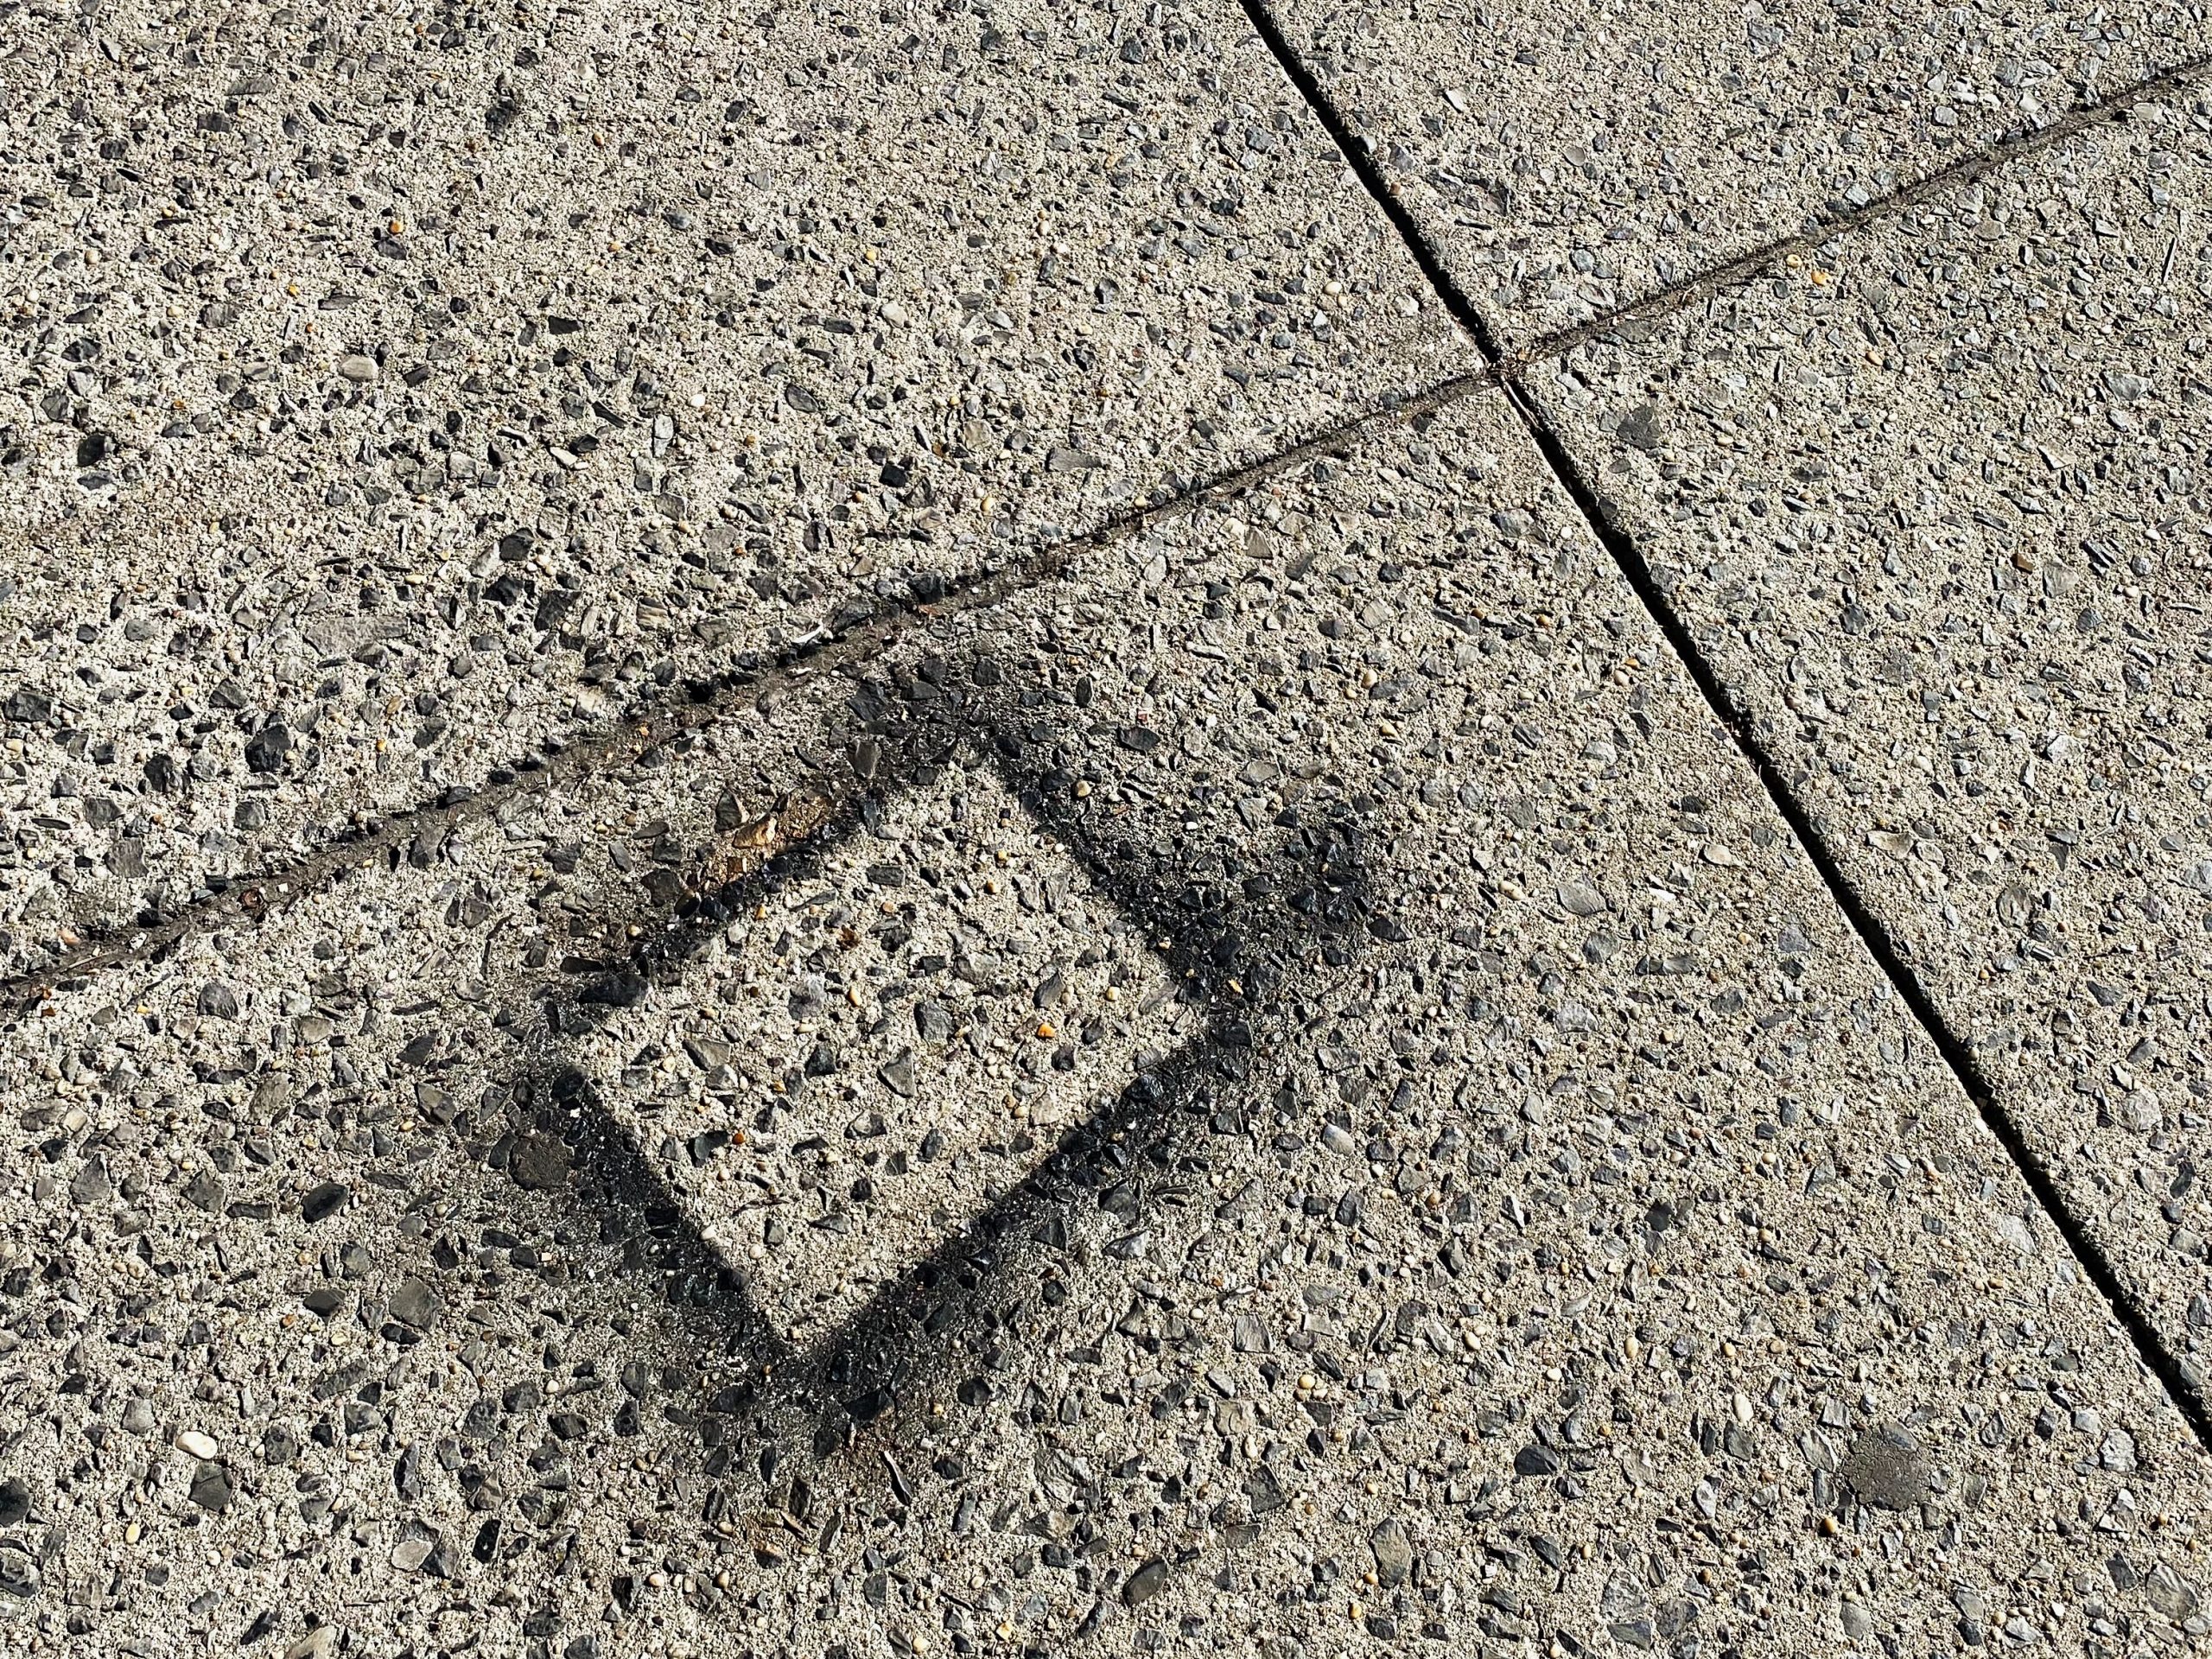
Going for the natural look never gets out of style. For a long time now, the exposed aggregate finish has been resurfacing among many properties. Outdoor surfacing is where one often finds this look. 

This look subtly makes its way to the hearts of not only property owners. Architects, designers, and contractors have a soft spot for this hard-core flooring. What makes it a standout for the professionals and got you wanting these flooring to yourselves, as well. 

Let this post be your guide and answer “How to mix exposed aggregate?”

What is Exposed Finish?

The Exposed Finish best suits the driveway, patio, and pool decks as well. This design also appears on tilting panel walls for the courtyards and steps to the entryways. Contrary to how the name suggests, an undressed look creates coherence to an exterior’s design instead. It won’t bore you to gaze at this incomplete form. All heads turn to look at this raw and exquisite effect that peeks out from the concrete floors.

Essential Methods to Expose the Aggregate

There are plenty of ways to achieve the aggregate finish. These varieties are what got contractors to go nuts for the “exposing” method. They got to use different tools, too.

1- Sandblasting

If you want to attain the texture and look of fine delicate sand, blast the concrete surface away. The concrete exposes a rough surface with the use of using a sandblaster, also called abrasive blasting. Small grains of stone and a coarse texture comes out. 

Of course, if you want an alternative, stamped concrete is also a popular option for outdoor surfaces.

2- Light Exposed Finish

Balance the seamless, polished look of concrete with the granular but not so rough texture. The light finish is what you want to apply here, also referred to as the water-wash-off technique. 


A deactivator, a setting agent, is used to cure the concrete at an average speed while slowing down the mortar paste on top. Then, by the time the rest of the mix hardened, the pasty mortar left on top will be washed away using a pressure hose. It goes about 30% of the aggregate peeking out on the surface.

3- Medium Exposed Finished

While the light finish lightly washes the top concrete paste away, the medium exposure reveals 50% of the aggregate. This design brings out the look of cement and rocks. The texture shows larger and robust parts.

4- Full Exposed Finish

The surface exposes the whole aggregate that looks like pebbled concrete. The macro-texture gives out sufficient traction making this suitable for concrete driveways and pathways.

Steps How to Expose Aggregates on Concrete

1- Selecting the Aggregate

pebbles
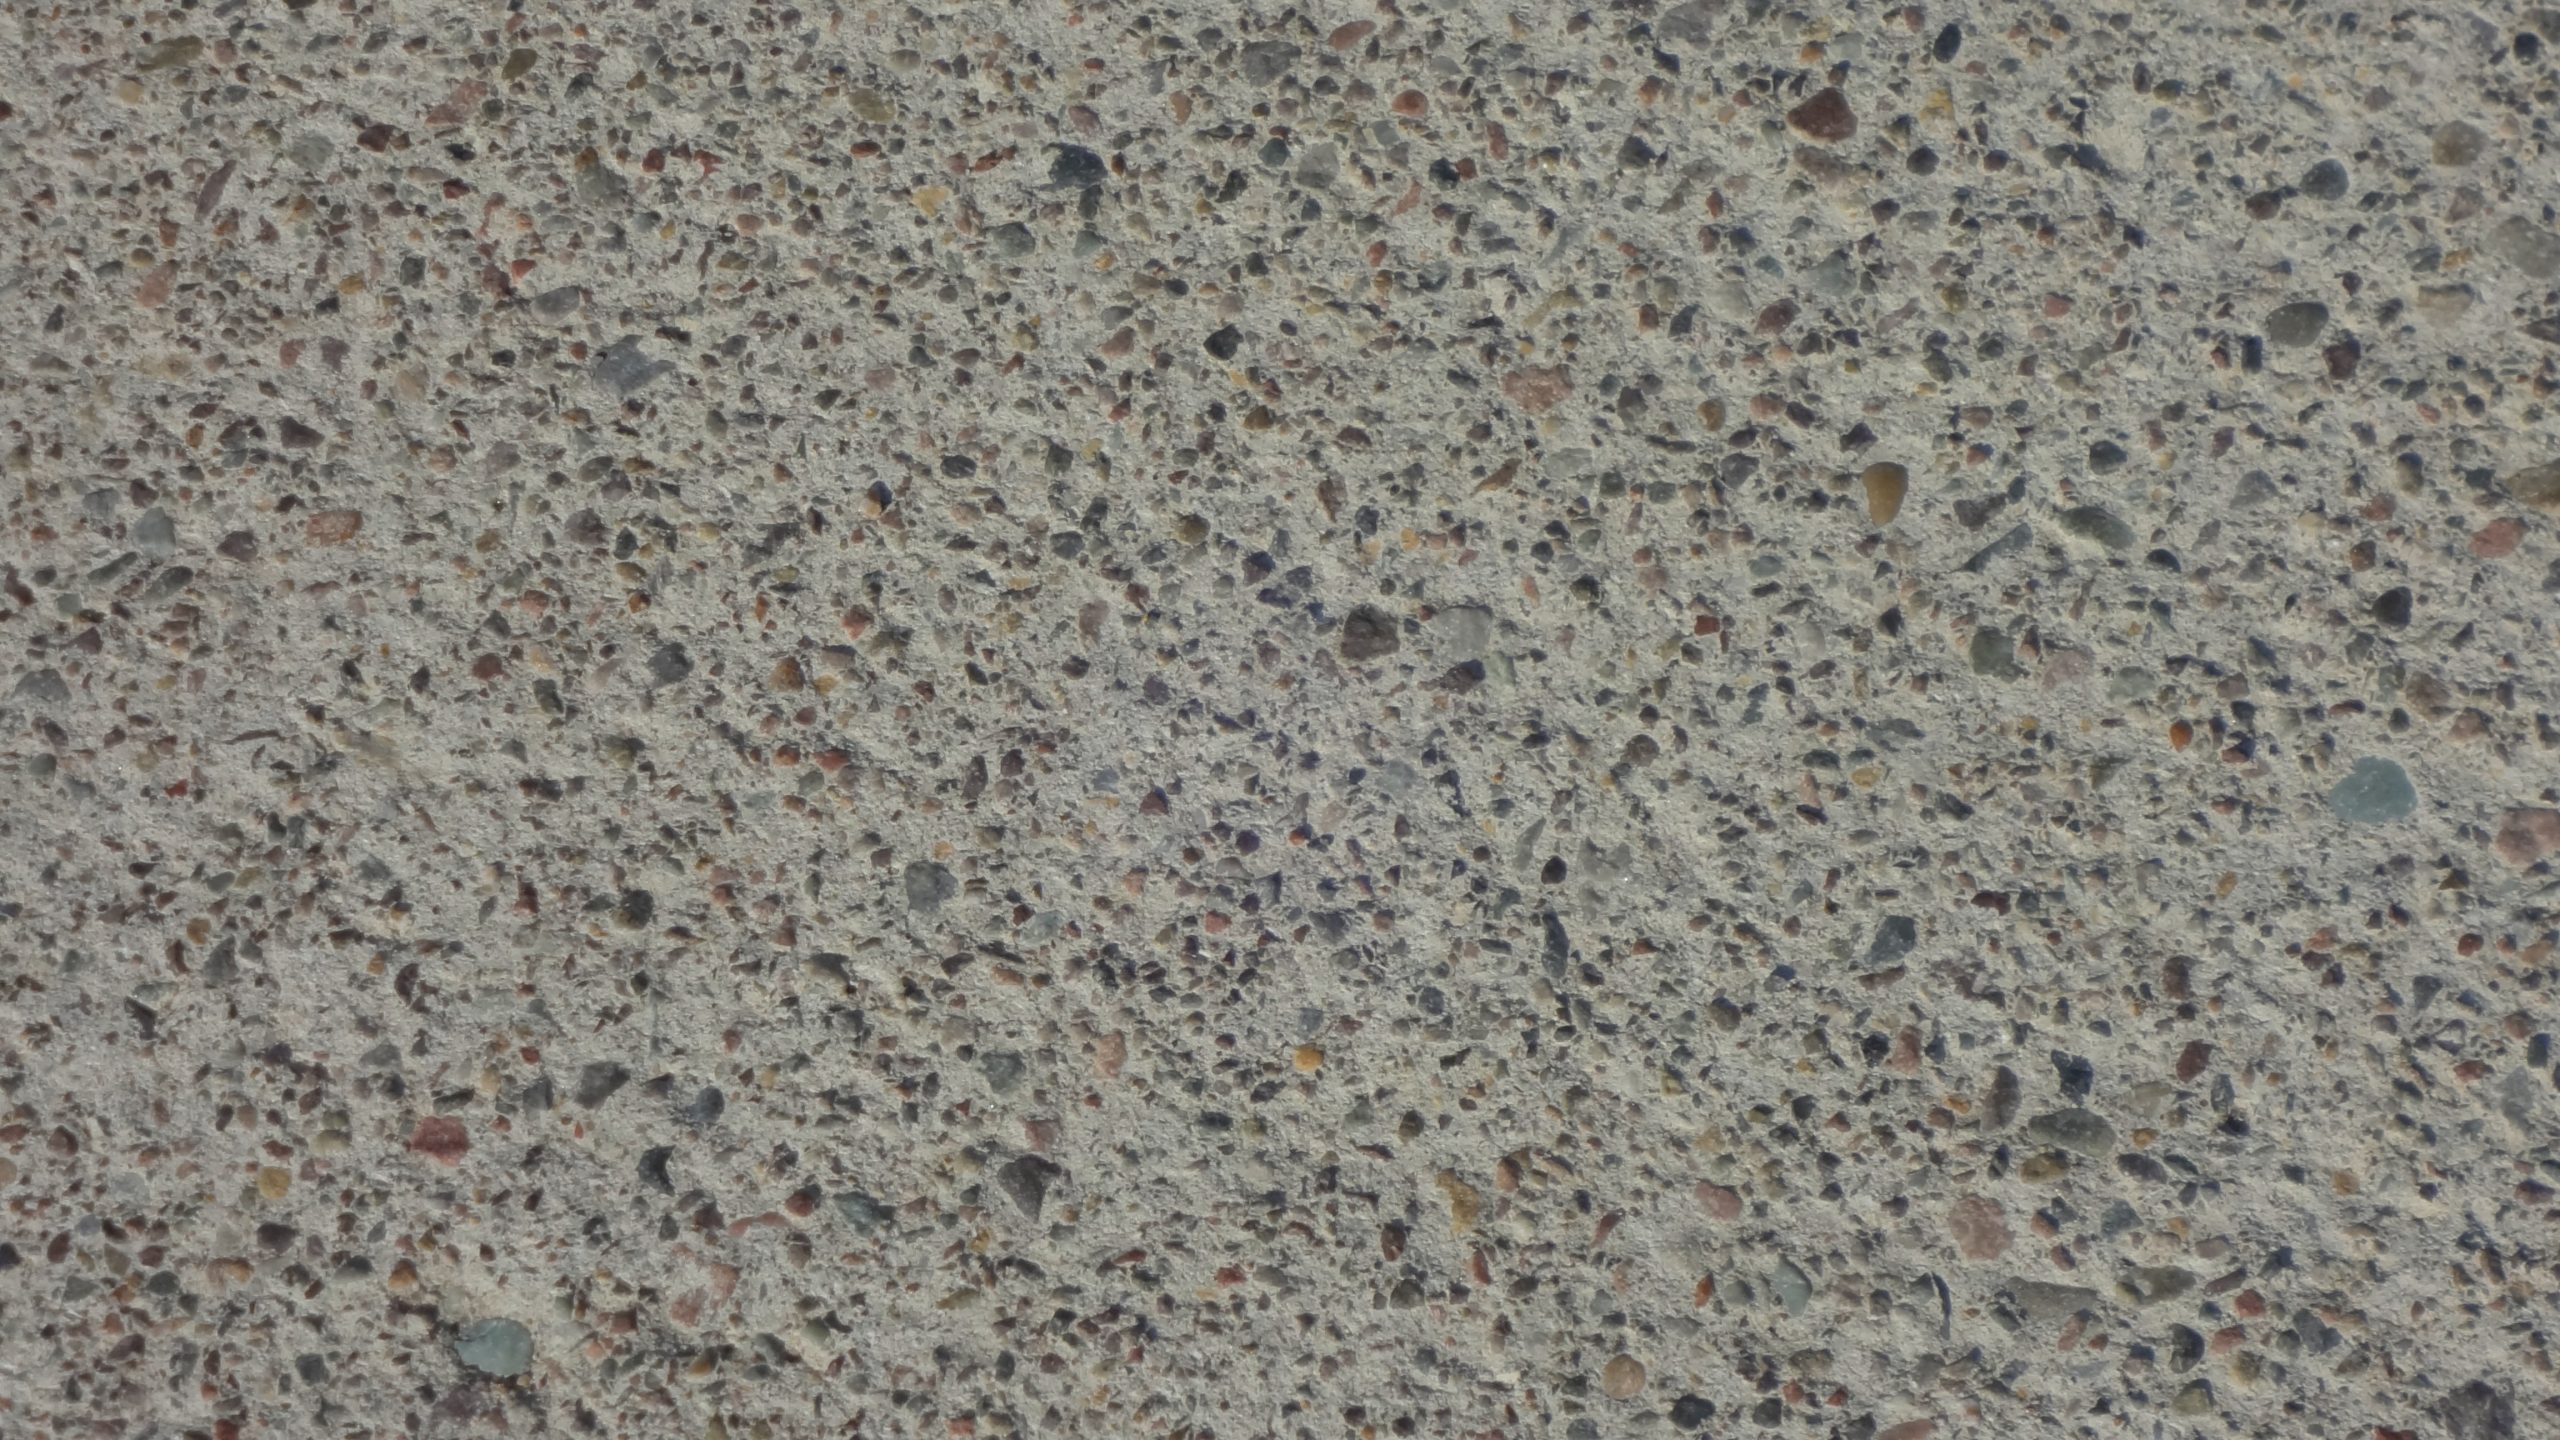
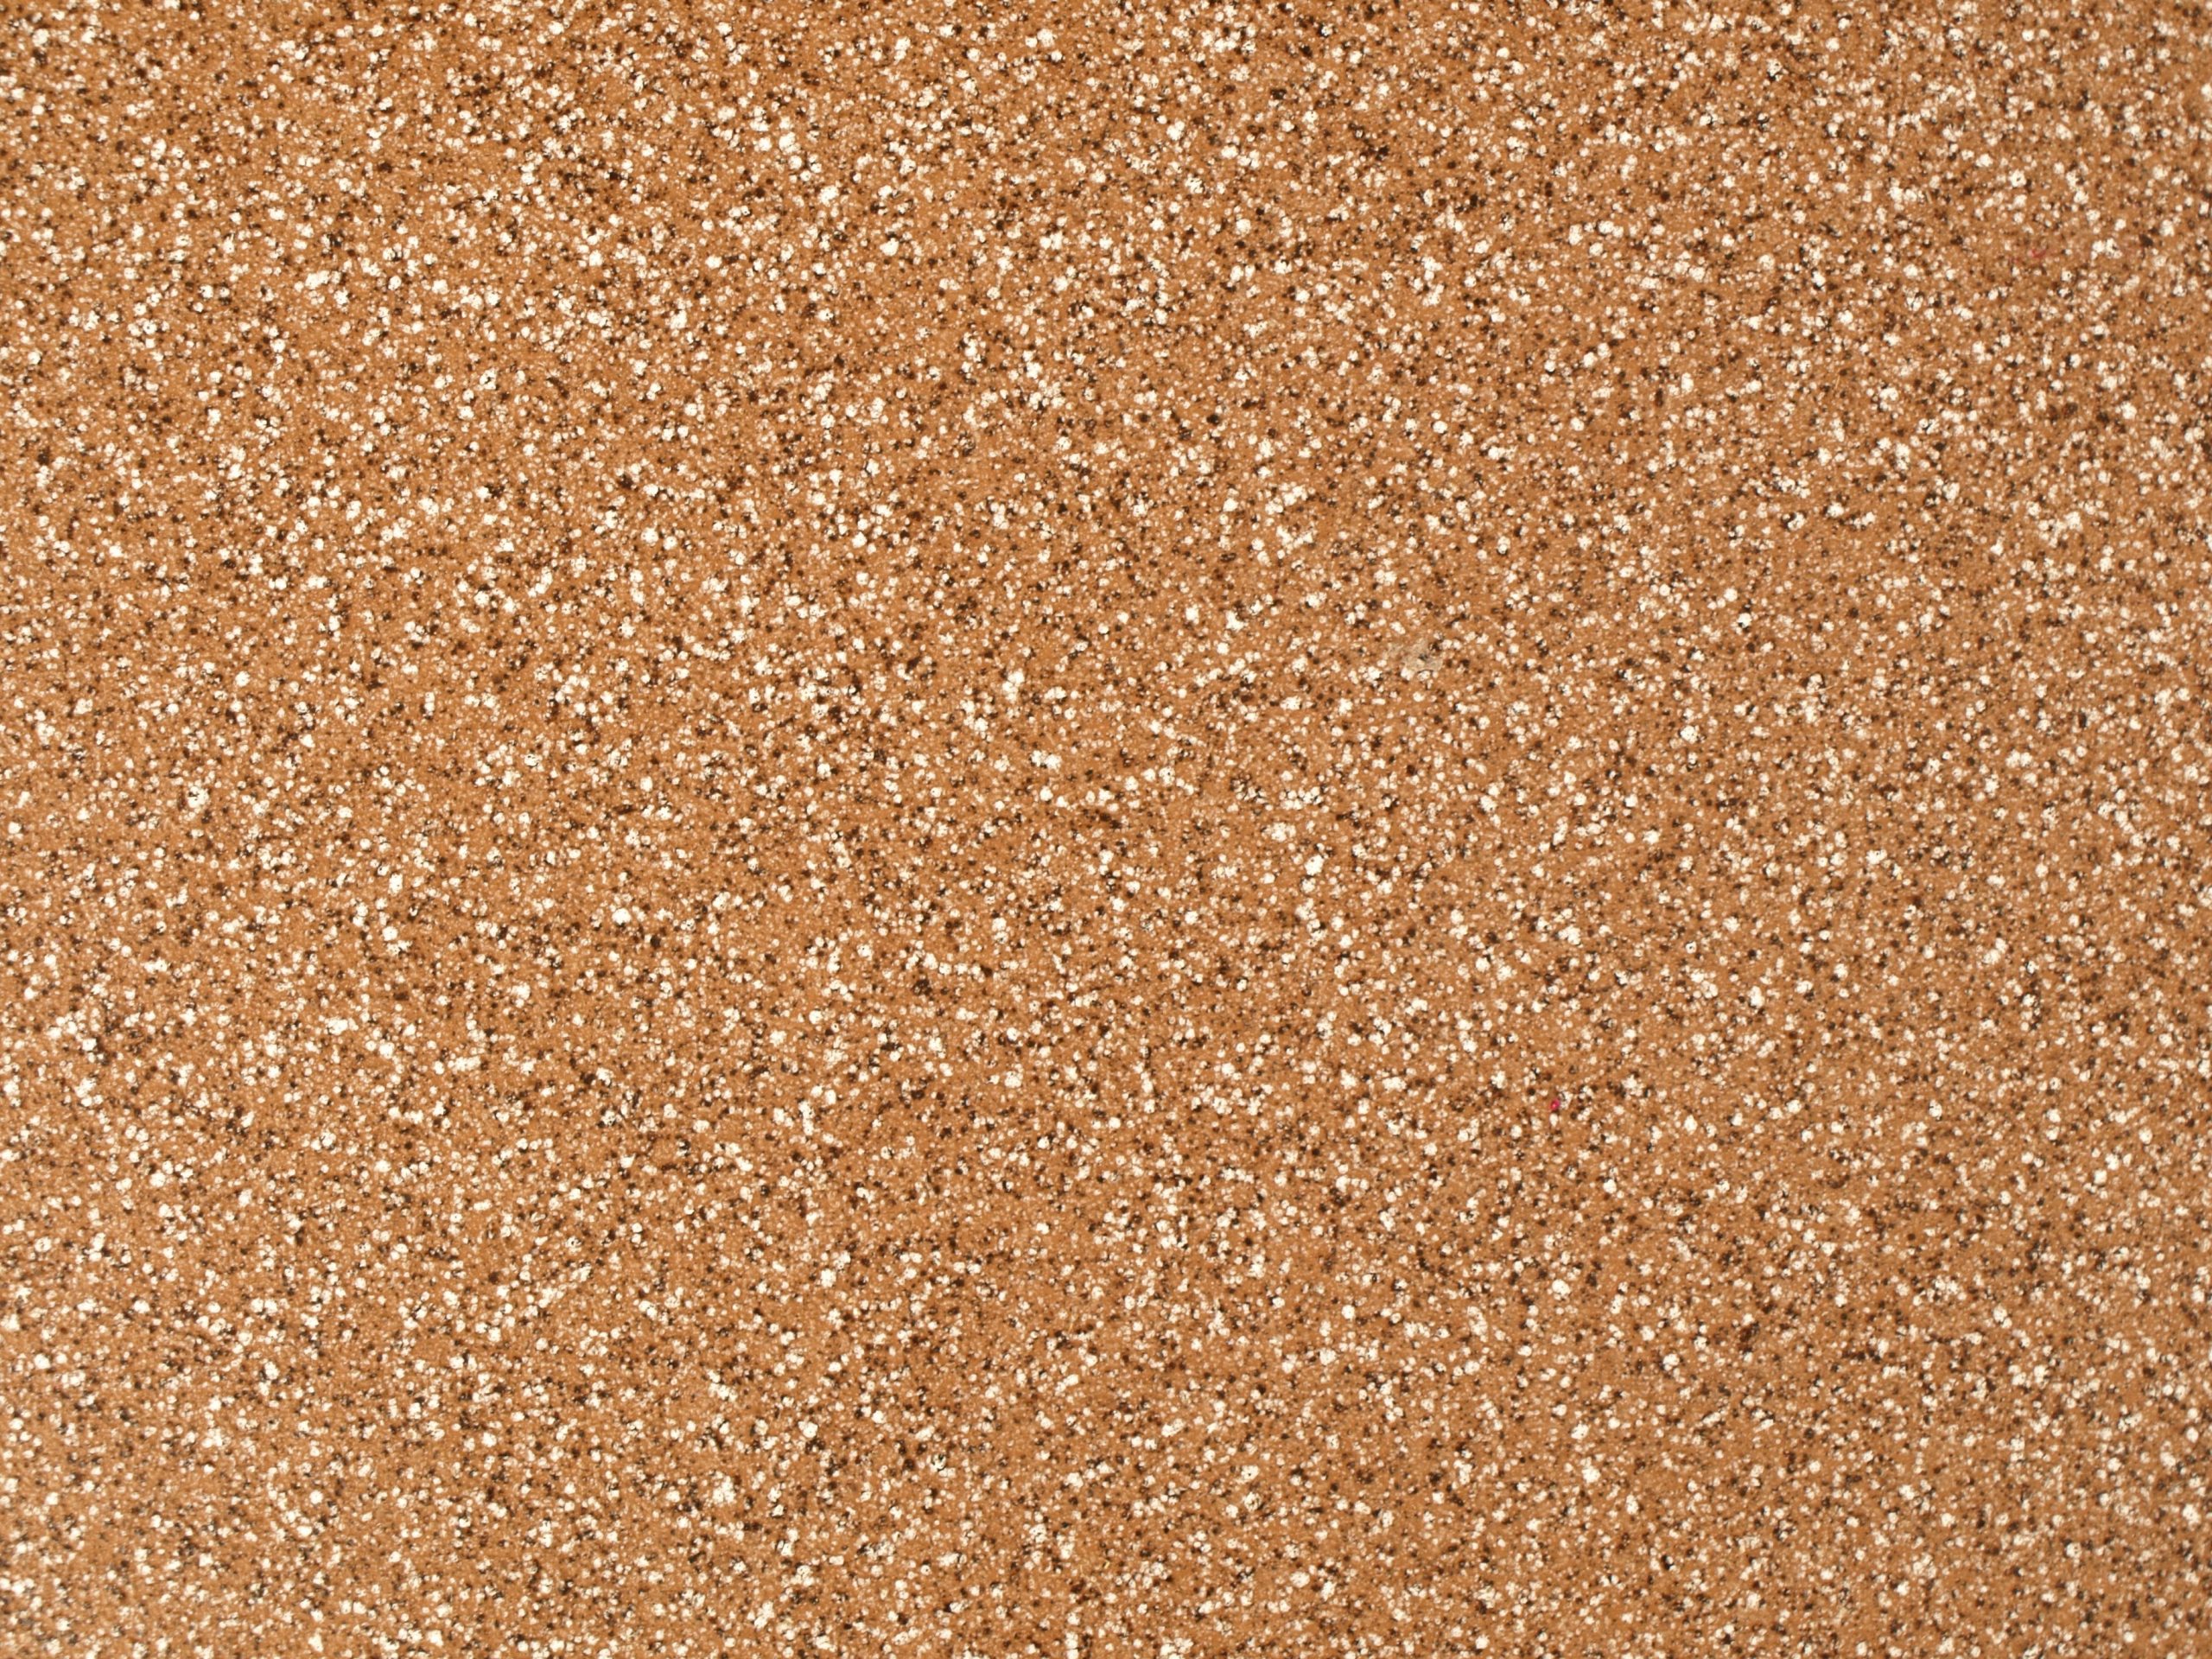
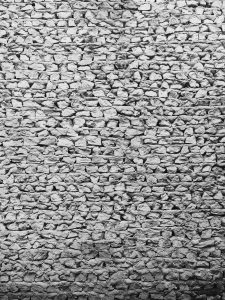
The first is to select the aggregates you like. You can choose pebbles, pea gravel, regular aggregate, granules or rock, or a mix of these.

Special aggregate are also available to choose from: here are some of them:

  • Granite
  • Marble
  • Glass
  • Glass with Terrazo

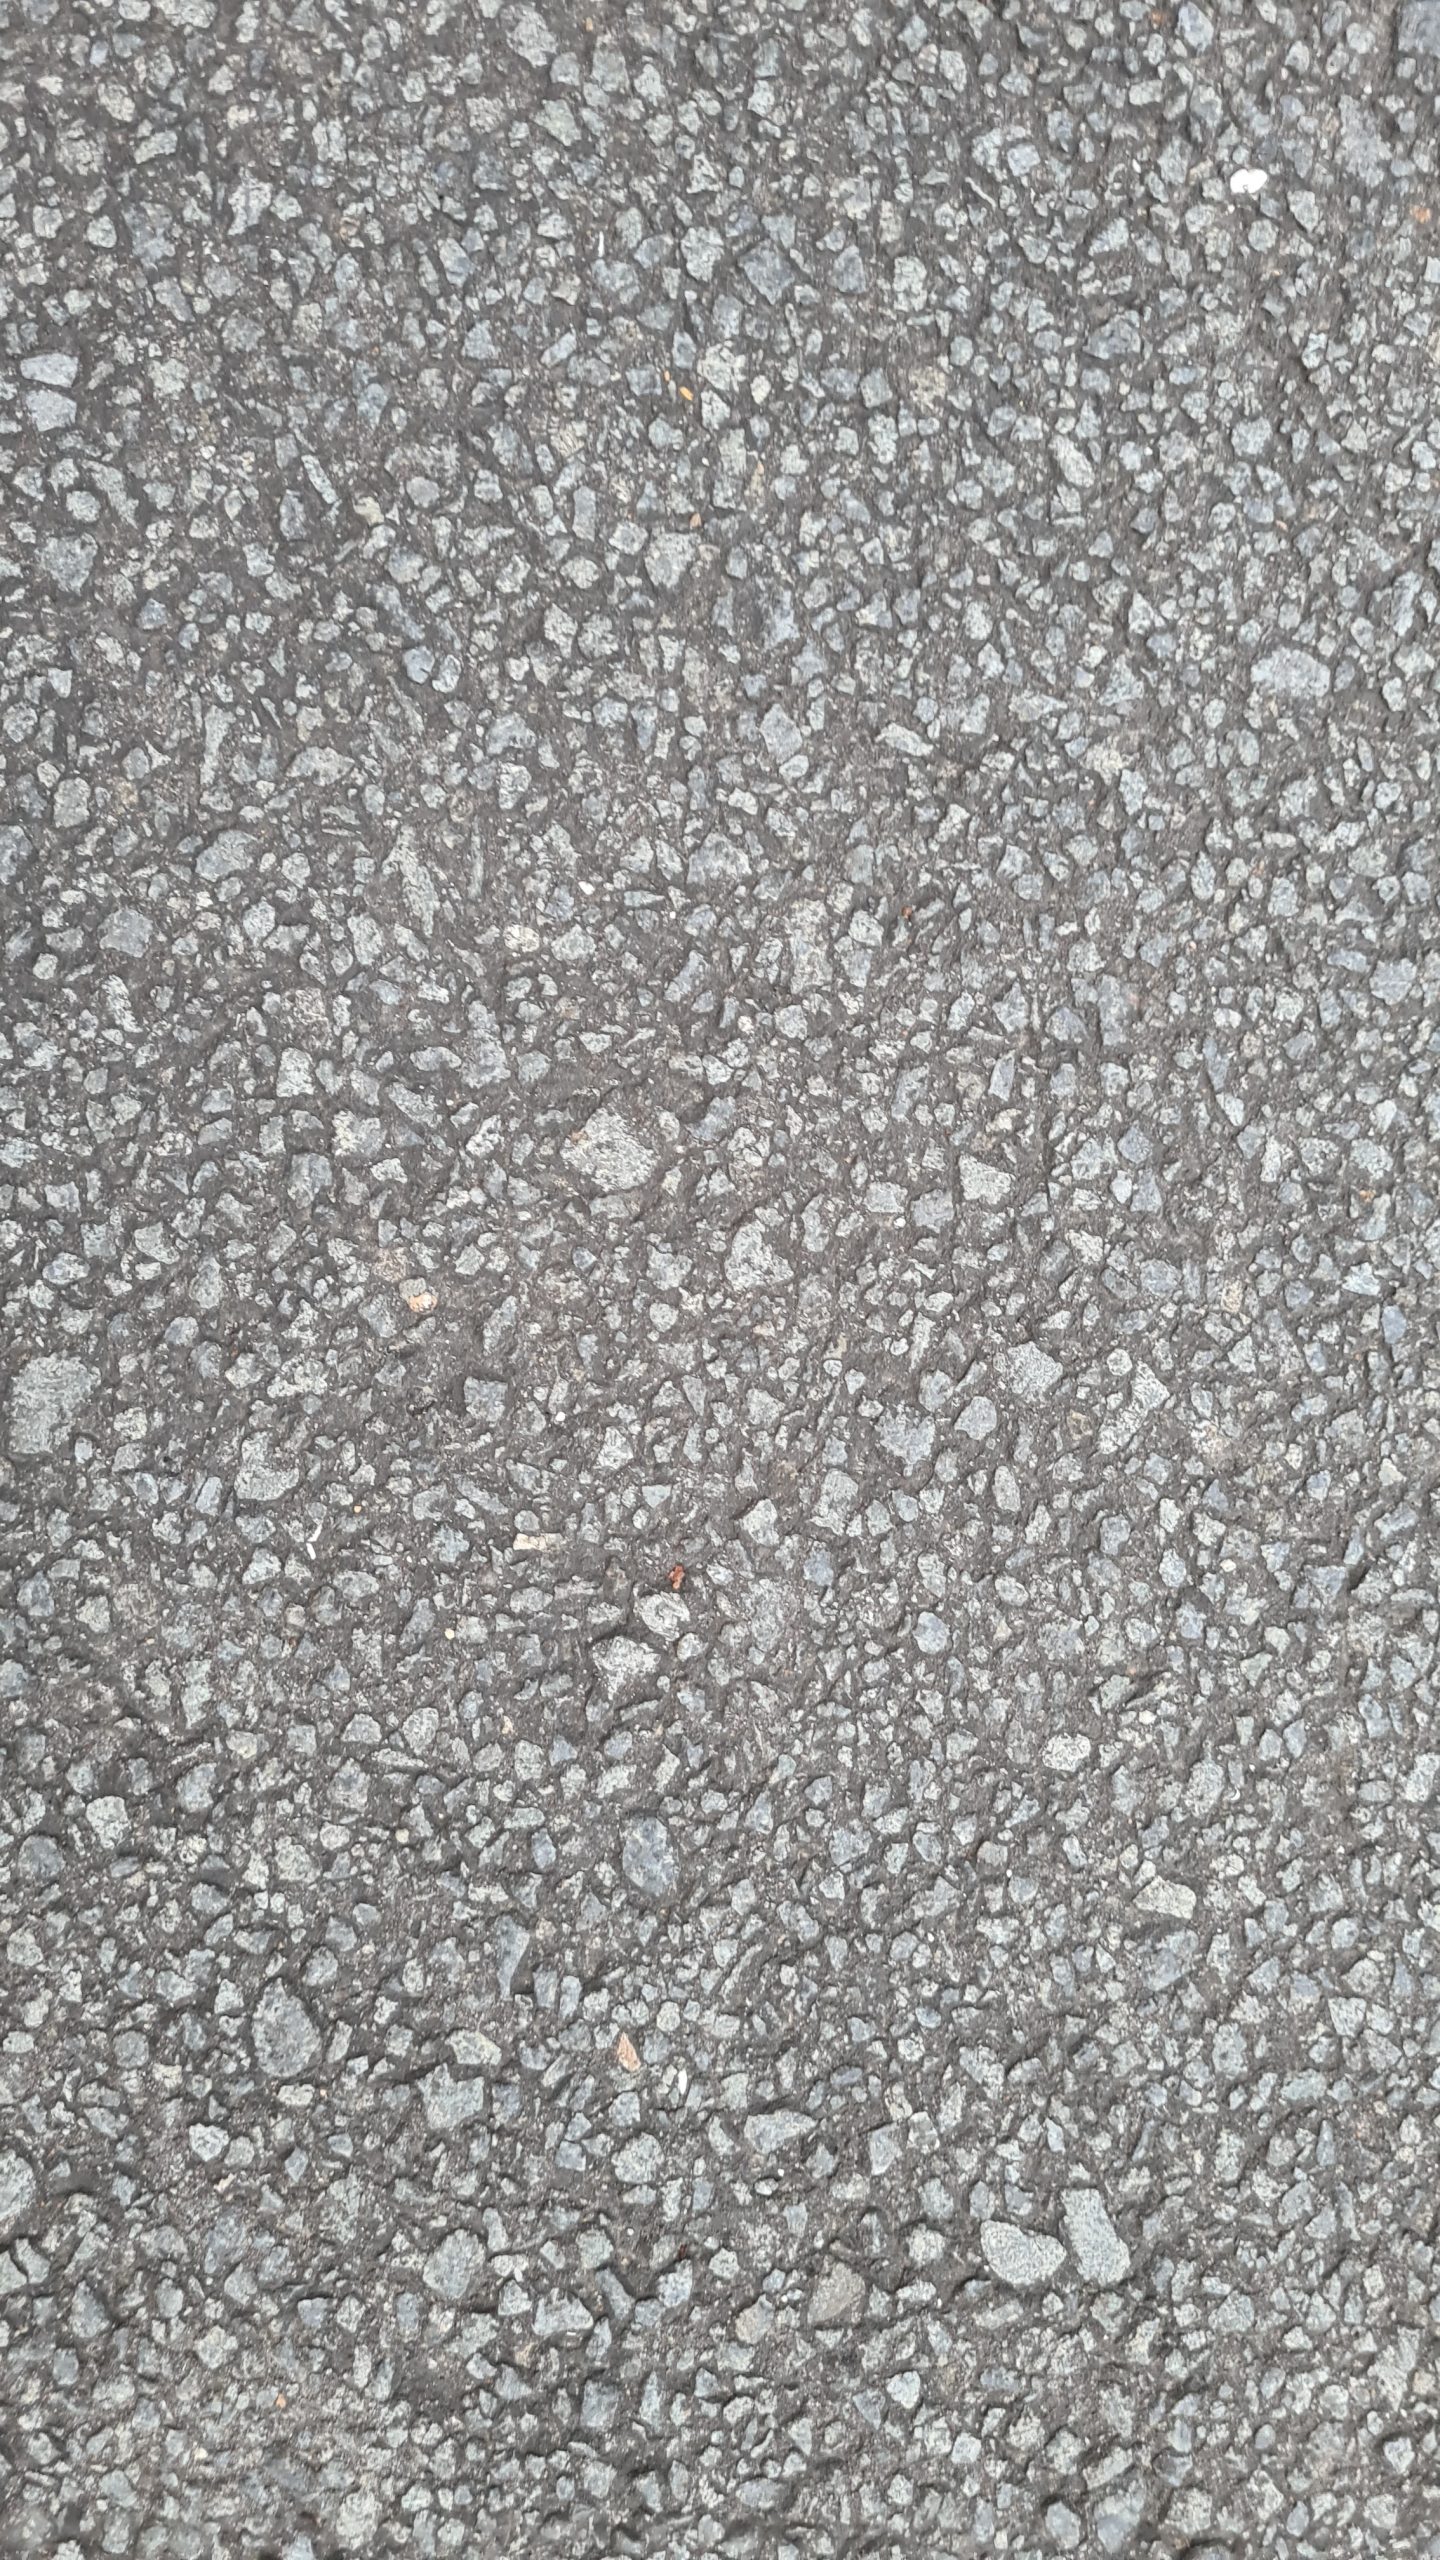
Selection of what type of aggregate mix you like will also influence other steps that will follow. In this step, you will also need to consider the following:

  • Surface texture – seeded, surface, washed-off, acid-etched, etc.
  • Grading- light to medium or full exposed grading; an installer controls the exposure’s depth while the mix cures at its normal pace. 
  • Coloring – integral mix and topping mix.

2- Seeding the Chosen Aggregate

After picking what type of mix you want to expose over the concrete flooring, the installer will broadcast the aggregate mix. An expert installer can use a shovel to seed in the gravel mix. Or, they can opt to use their hands. What is vital in this step is to avoid clumping of the aggregates.

3- Mixing and Pouring

The coloring, integral mix, and topping mix are blended in altogether. Putting in all the necessary layers (subgrade, concrete bed, aggregate) needs a skilled worker to make sure of a seamless pouring and blending. The edges must be smooth. Also, it’s crucial to avoid birdbaths or clumping of the aggregates.

4- Washing Off the Exposed Concrete

There are two necessary steps for washing:

  • Acid Washing. This step involves washing the surface with an acid to break down the paste. This control the grading you like for the exposed look
  • Saw-Cutting. Saw cutting of contrite is necessary to provide joints for concrete. The joints or gaps make way for the slab to expand when needed.

5- Finishing and Sealing

The last step is sealing. Curing the paste on top can be tricky. So make sure that all layers are cured adequately before putting on a sealer. The seal coating will protect the exposed concrete from harsh weather and heavy use.

Care to learn more about flooring options? Visit our homepage at www.kansascityconcreteartisans.com or read through our other blogs.

Kansas City Concrete Artisans
Visit Us
Scroll to Top